Method
Every aspect of traditional Islamic calligraphy is detailed. From selecting the right type of reed pen and preparing the paper, to the microscopic details in the letterforms.
Process
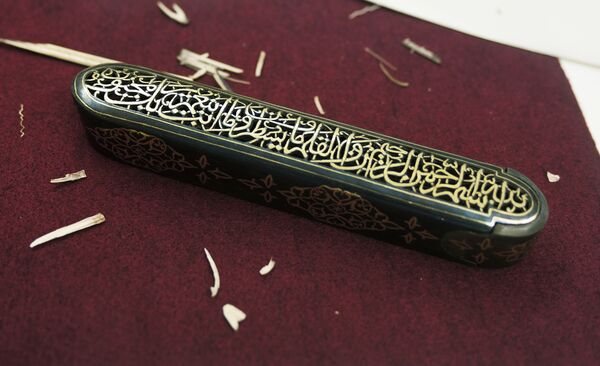
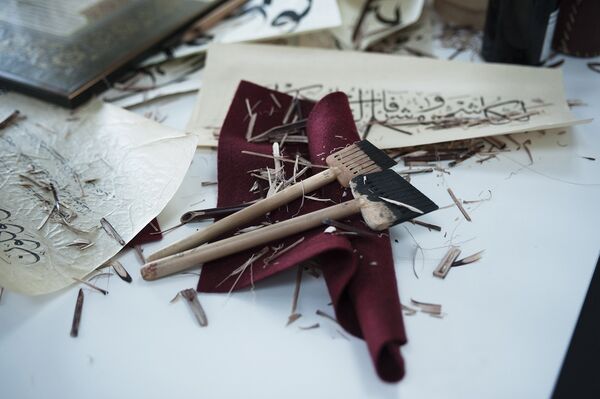
A traditional pen and ink piece usually follows a particular process. Firstly, the composition needs to be carefully worked out and this can be a lengthy process depending on the complexity of the text and the style of script chosen. Once this is finalised, the paper, inks and pens for the job are selected. A single reed pen may last for many years and just have its nib re-cut now and again depending on its usage.

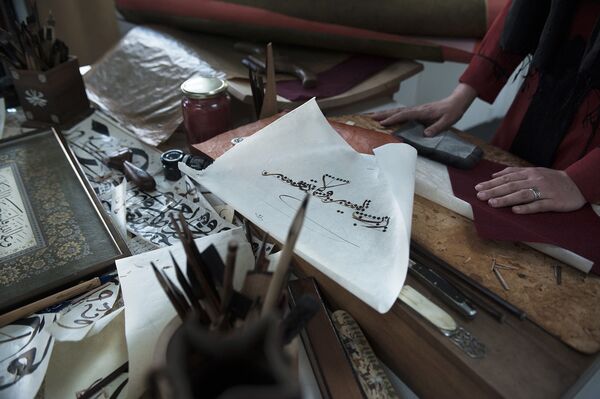
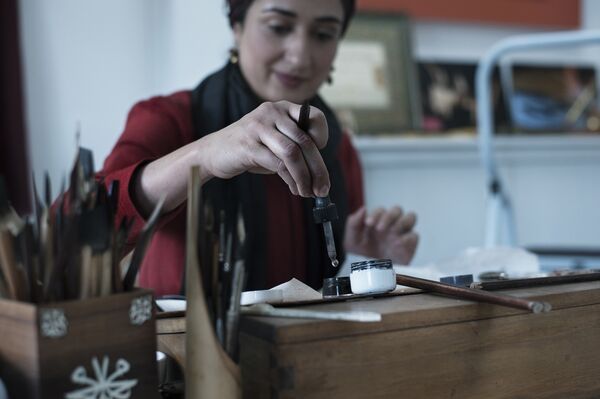
Tools
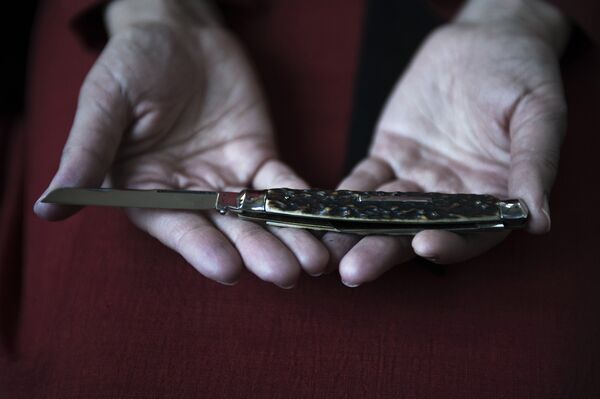
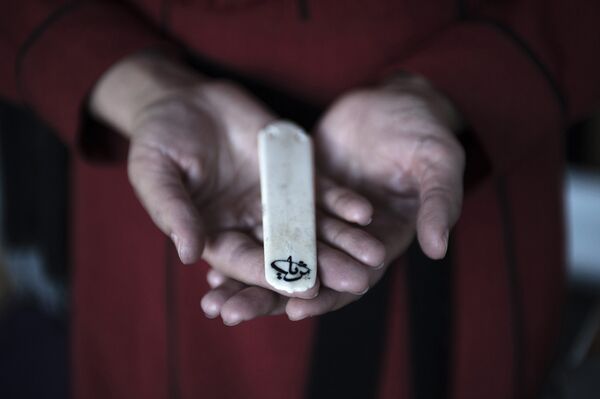
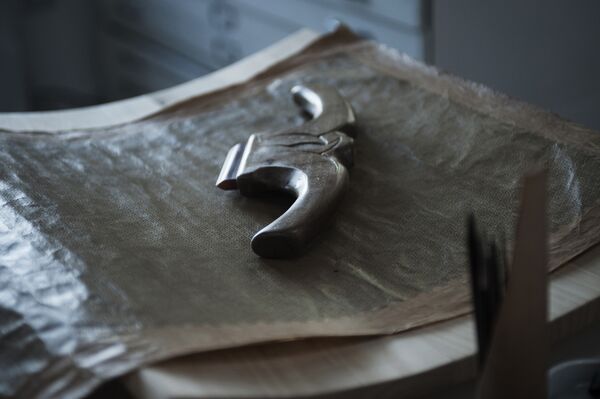
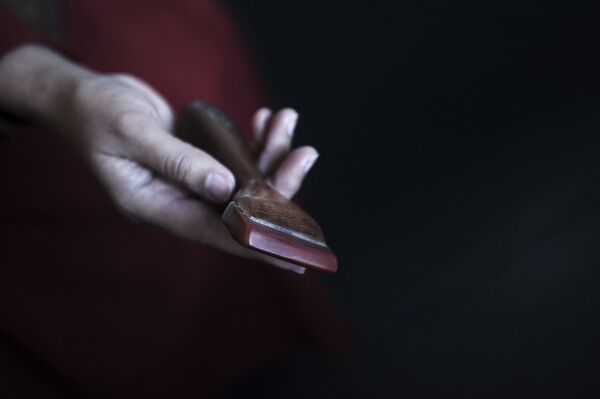
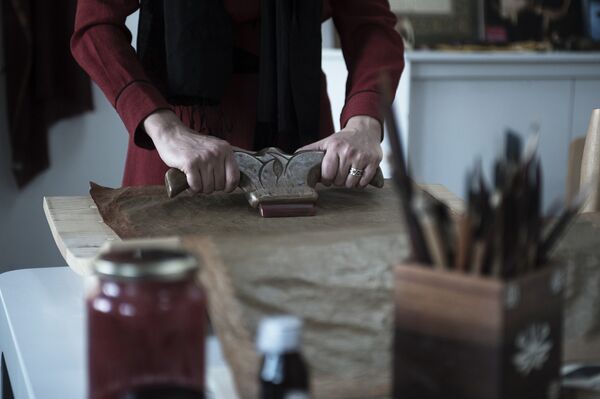
Having the right tools and knowing how to prepare them is essential. A calligrapher’s basic kit usually consists of: pens, ink, paper, penknife, makta (instrument on which to place and cut the pen) and a hand rest (piece of cloth on which to rest the hand to stop the transfer of grease to the paper as you write). A writing desk, paper burnisher and light table also form part of the calligrapher's apparatus.

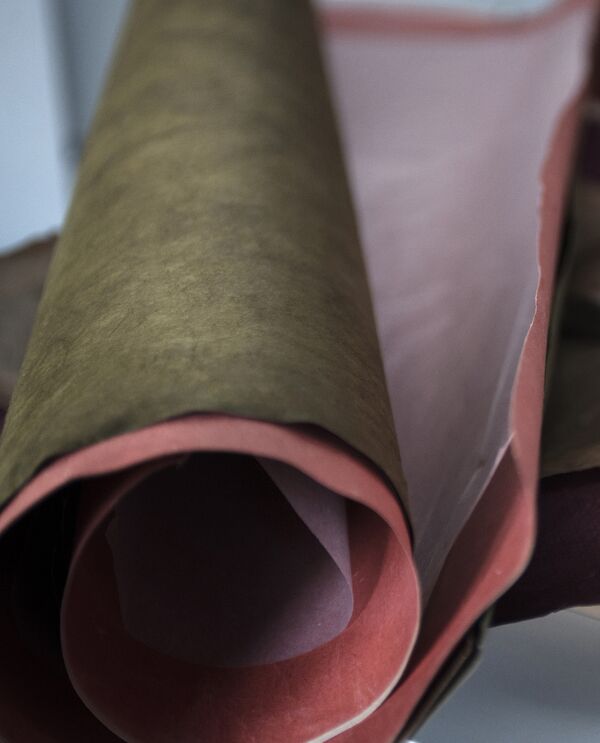
Paper Preparation
Calligraphy paper is coated and sized using a primer base of wheat starch, alum and fish glue followed by three coats of an egg white and alum solution. The paper is then burnished and aged for about a year before being used. For further information, see the FAQ page.
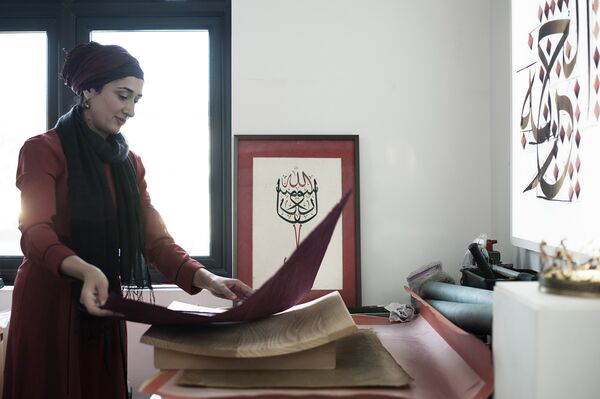
The last stage is to create a layered card by a process of wet laminating papers together. The top layer is the sheet of paper on which the calligraphy composition is written. Then gold borders (using real gold leaf crushed into a paint) can be applied to conceal the joins between the inner and outer papers. The piece, once dry, is is ready to be framed.